Making a Paper Winter Wreath with Cricut
- Shayda Campbell

- Nov 17, 2020
- 2 min read
Updated: Mar 4, 2021

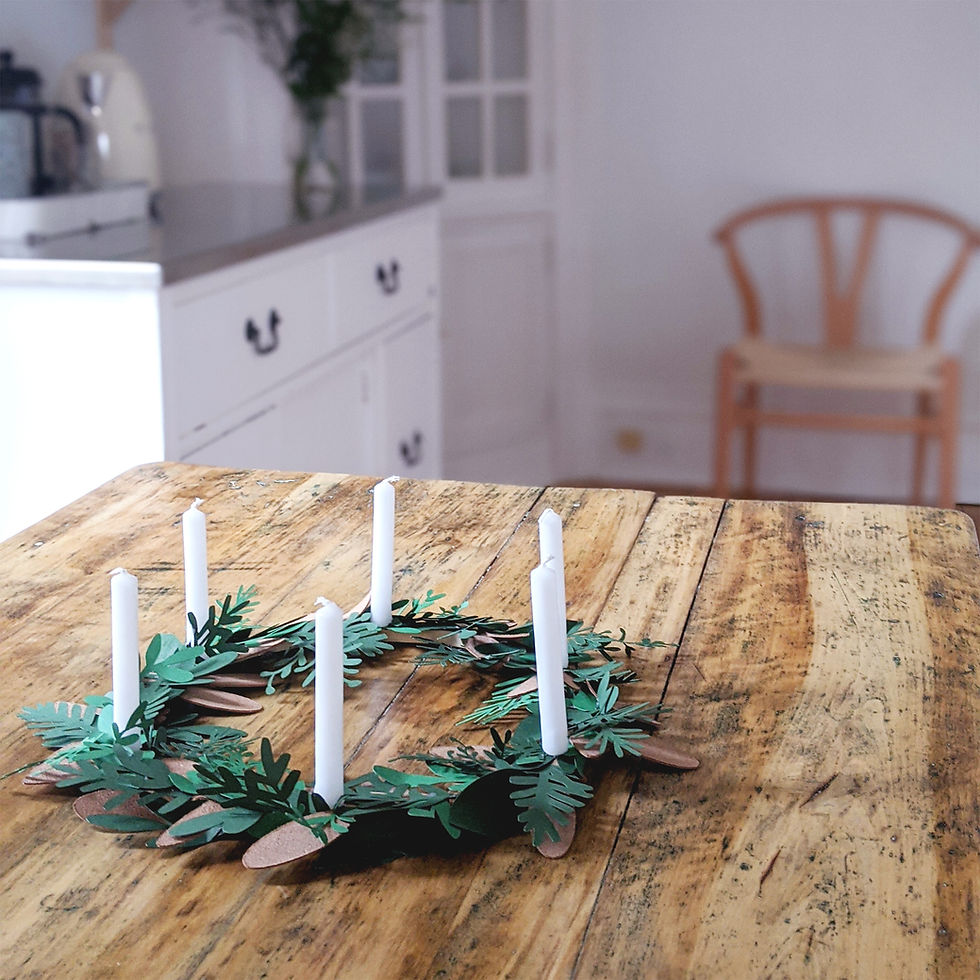
In today's crafty tutorial I am using my Cricut Explore Air 2 again! This time I am going to make a wintery paper wreath perfect for a holiday table scape. I am using the Cricut card stock in green and some of their genuine leather as well. For the wreath form I am using an embroidery hoop and have some small finishing nails to keep our candles in place. Of course we have our Cricut Explore Air 2 which will make this intricate project really simple.
For details on how to use the Cricut follow along in the video:
Shop My Supplies Here:
Cricut Explore Air2: https://shareasale.com/r.cfm?b=923343...
Cricut Products: https://shareasale.com/r.cfm?b=133463...
Cricut Access Membership Plans: https://shareasale.com/r.cfm?b=972251...
*Disclosure: I only recommend products I would use myself and all opinions expressed here are my own. This post contains affiliate links from which, at no additional cost to you, I earn a small commission from.

I did the design for the wreath on my Ipad. You can use as many different leaves as you like, making a negative/positive image, keeping a nice botanical mix. Uploading and having the Cricut cut out all the shapes gives you all the leaves you need to construct your wreath, first in green and then using the genuine leather.
Now that all the hard work is done it is time to assemble the wreath! Using a hot glue gone I just go around the embroidery hoop attaching leaves. I am alternating the colors and shapes and then curling the leaves around the hoop for a more three dimensional wreath. I want to make sure there aren't any bald spots and the entire hoop is covered.

Before I started gluing I'd wedged six small finishing nails through the embroidery hoops and now those are ready to hold the candles in place. The wreath has a beautiful organic wintery look and I'm really pleased with this project. I hope you will give this one a try!


Comments